
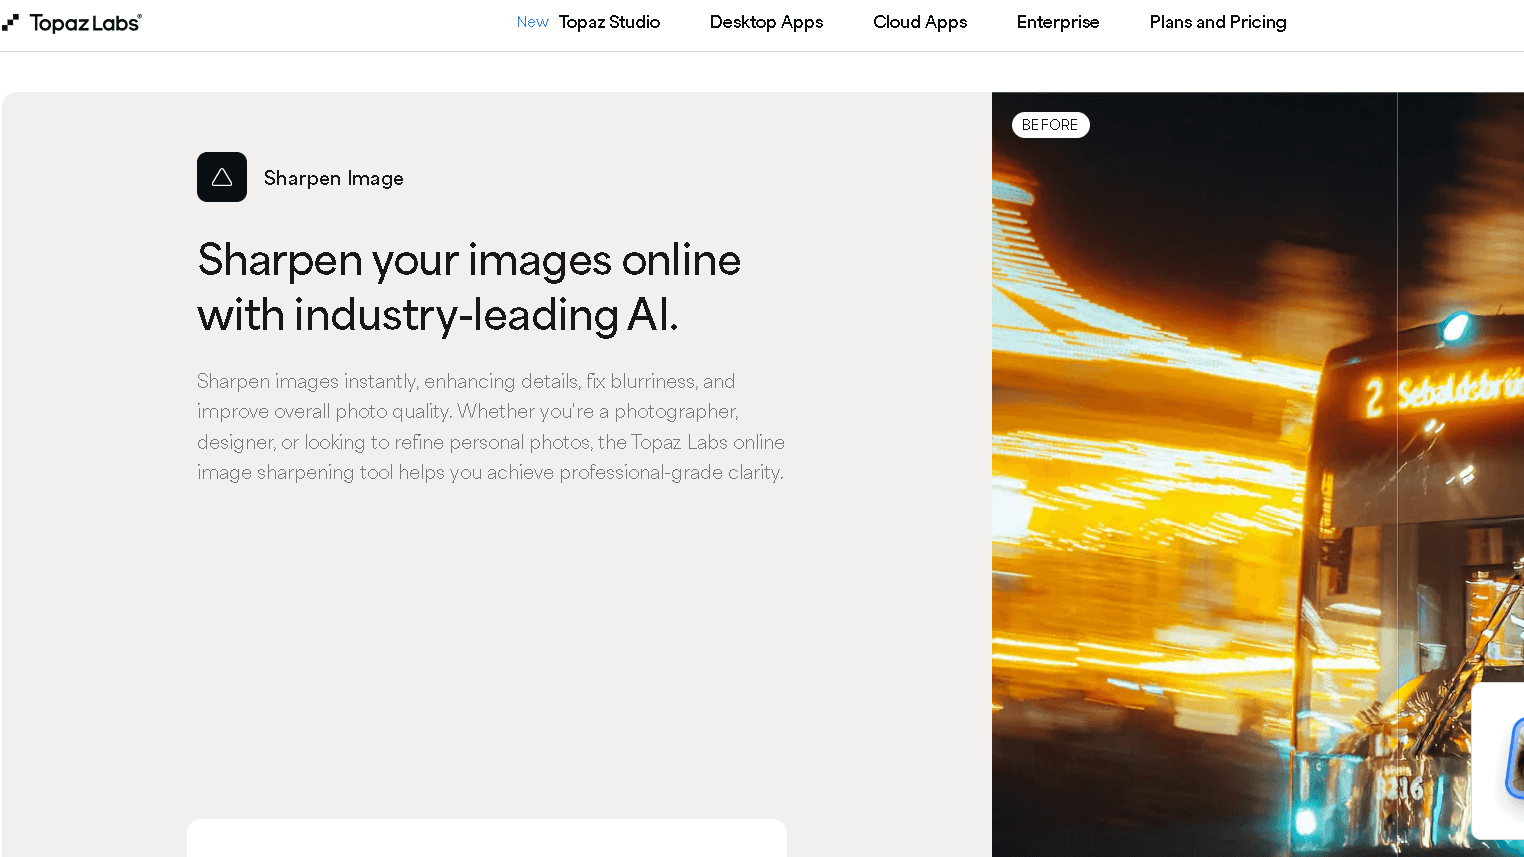
Topaz Sharpen AI’s solution to blurry photo correction through the use of artificial intelligence. It also fine-tunes and boosts images by eliminating problems such as camera shake, soft focus, and motion blur.
This is an honest tool if you want sharper photos without much tinkering. I appreciate that it can function as both a standalone program and a Lightroom/ Photoshop plugin.
It’s seamless with my process. The AI processes each image and extracts details that other tools simply won’t.
It reduces time and improves photo quality for photos that are just ‘a bit off’ having been taken in the first place. Topaz Sharpen AI will likely make sharpening more convenient and less stressful for photographers and casual users.
Table of Contents
What Is Topaz Sharpen AI?
Topaz Sharpen AI is an AI based photo sharpening program. It corrects blurry or soft photos by looking at particulars of the photo to select sharpening models depending on what is required by the image.
It can deal with shake blur, focus blur and softness. It also works as a part of the larger Topaz Photo suite, so if you desire a more complete editing setup you can have it.
It works as a stand-alone app, or as a plugin for Photoshop and Lightroom. That’s a nice to if you use these programs already.
How Topaz Sharpen AI Works
The advantage of Topaz Sharpen AI is that it leverages machine learning technology to identify not only the subject but also what type of blur is affecting the image . It divides the image into pieces and applies sharpening only to areas of image that need it.
This is a good technique for a more natural looking, non tie-dyed finish. These include; Stabilize, Focus and Sharpen, which respectively address shake blur, out of focus shots and general softness.
I think that the targeted modes are more advanced than traditional sharpening tools. The corrections are done using your image and scanning it so it is pretty intelligent.
Integration with Topaz Photo AI
Topaz Sharpen AI is now included in Topaz Photo AI, which not only does sharpening, but also noise reduction and some other enhancements. It’s a nice one-stop answer for making better photos with a lot less manual effort.
I can also apply it to Topaz Photo AI and do my sharpening, noise reduction and clarity enhancing all in one process. There is still support for Photoshop, Lightroom and Topaz Studio plugins, so this will give you choices based on where your editing is at.
This first part of the integration just makes the whole process smoother and quicker; something I think most folks might appreciate.
How to Fix Blurred Photos Using Topaz Sharpen AI
I launch Topaz Sharpen AI like any program, out of Photoshop or Lightroom or as a standalone application. Next I upload the bad, fuzzy picture I hope to repair.
Based on the type of blur, the software will recommend an AI sharpening model. There are models available for motion blur, out of focus, and just generally soft images.
I select the one that will best work for my photo, and then I can customize settings like Remove Blur and Suppress Noise. Of course I attempt to keep the de-blurring at a sensible, non- bizarre level so the de-blurring doesn’t look odd or fake.
This masking tool allows me to apply sharpening only where I want it. This way, I’m not making things too sharp in places I don’t want, or adding any artifacts.
The mask is easy to adjust with brush tools and sliders for size, softness and opacity. If the photograph appears too silky I do at times add a bit of grain to mimic a certain naturalism.
Once I’m satisfied, I save the image using the settings I like.
A few examples might include:
- Open image with Sharpen AI
- Choose AI sharpening model
- Tweak blur and noise settings
- Local sharpening with mask
- Add grain to give a more natural look (optional)
- Save the sharpened image.
This process often significantly improves the quality of your blurry photos, but it works especially well if you’re able to pair the model to the type of blur. If there is a significant amount of noise I will run Topaz DeNoise AI first.
Key Features and Capabilities
Topaz Sharpen AI is concerned with correcting blurry images and enhancing detail in a controlled way. Such approach comes with different models to address particular problems and deals with controls of noise and artifact reduction.
Sharpen Models Explained
This software is able to deal with three primary problems: stabilization, focus and general sharpening. Plus, each model is designed against a specific type of blur.
Stabilization Model corrects blur due to camera shake.
Focus Model slightly corrects out-of-focus shots.
Sharpen Model adds some overall sharpness/detail without overdoing it.
The choice of model is very important. Even if my photo is slightly soft, the model will still focus. I can easily switch between models and I am able to manipulate the effect to prevent artifactual relationships.
Masking and Selective Sharpening
Particularly outstanding here are the masking and selective sharpening. Rather than strengthening the whole image, I can focus in on only the parts that did need it – the eyes in a portrait, details in a landscape, etc.
This also prevents noise and artifacts from worsening somewhere else. I use a mask to select what I want to be sharp and let everything else be.
This is especially good for photos containing soft as well as detailed areas. I like the selective use of sharpening because it gives me more control and can help my final image to look clean and natural.
Denoise and Artifact Reduction
Sharpening can cause noise and introduce other artifacts, although Topaz Sharpen AI does have denoise choices to mitigate this. It also cuts down on noise, but maintains sharpness around the edges, which are not smeared.
It also handles other common sharpening artifacts such as halos or bizarre textures. I try to avoid overdoing denoise because it can begin to soften things if it is pushed too far.
Topaz’s balance is generally a decent one – the goal is to maintain high quality imaging while discarding irrelevant information.
Correcting Blur: Camera Shake, Motion, and Focus
Blur can occur when the camera shakes, photographing a fast-paced action, or focusing on a wrong area. Each of these requires a distinct fix. Most just add edge contrast, but this typically results in halos or artifacts.
I like smart tech that restores real detail, and doesn’t try to do it in a way that will make things look bad. In this case, camera shake is the move performed by the camera during the shot that blurs the entire image.
Camera Shake Compensation
Topaz Sharpen AI’s Stabilize mode is good for this. It identifies the direction of the blur and fixes it without introducing noise or artifacts in the surrounding of the photo.
Rather than focusing on everything, it focuses on the foggy portions. Thankfully this spares me from needing extra masking or rotoscoping and everything looks cleaner, it doesn’t do anything weird to the edges of things.
Motion Blur Correction
Motion blur is the most obvious, caused by movement of the subject passing quickly when the shutter is open and creating streaks or blur smudges. The Motion mode in Topaz Sharpen AI works by isolating the subject and keeping that in focus while the rest remains natural.
The software interprets the direction and degree in which things moved and unblurs it. Old- school filters simply enhance this edge contrast and makes things look uglier. I like that Sharpen AI attempts to recreate lost information to make images look more realistic.
Fixing Missed Focus
Missed focus is hard- it occurs when the camera locks onto the wrong spot and the subject is soft. Lost information is difficult to reclaim, and most methods simply introduce ugly artifacts attempting to correct it.
Sharpen AI’s Focus mode works more gently into the detail without introducing a lot of artifacts. While there is only so much that can be done in terms of recovering pixel information, it can bring up things like eyes and textures.
Workflow and Usability
Topaz Sharpen AI offers multiple options perfect for a variety of editing purposes. It can be used as a an app or as a plugin, and it works with single images or with batches of images. The program interfaces well with photo editing programs, if you use one of those instead.
Standalone vs Plugin Functionality
I flip flop between standalone and plugin modes. I like using Standalone because it allows me to batch open images, go to the settings, and save output without any interruptions.
In the case of Photoshop or Lightroom I sharpen as a plugin within my regular workflow. I have access to the editing stuff, and the image can go to Sharpen AI and I can pull it back and finish it up.
The Offline is the one that I have all the control over the modes and the masking. The plugin is a bit more lean, but less options show on screen. I choose according to whether I want detail or speed.
Batch Processing Workflow
Batch processing is a huge time-saver when I’ve got a stack of photos. I drop all the images into the batch queue, select the sharpening type, and enter the sharpness and noise sliders at one time.
From there, the software will automatically edit all files. At the end of a shoot with hundreds of photos this feature is a god-send.
I always begin with a test image for settings. Once it looks good the batch will run smoothly and I can “train” and observe progress or “pause” it if necessary.
Integration with Photo Editing Software
Sharpen AI also integrates well with Photoshop, Lightroom, and Topaz Studio 2. With one simple click I can dump images directly from those programs into Sharpen AI.
Following the sharpening, the image returns to the original program as a new layer or file. Sharpen AI works with JPEG, TIFF, and RAW files, so I can move my files over without losing anything.
It’s part of my greater editing process, between editing cuts for noise reduction and other treatments. The ability to work stand alone or in other editors is a big plus as well.
Performance, Requirements, and Pricing
Hardware requirements are substantial, but Topaz Sharpen AI has a straightforward pricing structure and offers a free trial. The interface is simple, and you can opt for either automatic edits or manual control.
System Requirements
Topaz Sharpen AI requires a decent computer, particularly a solid GPU, to run well. Ideally, it is used in Windows and Mac systems with a minimum 6th Gen Intel CPU and Intel OpenVINO™ to enable faster processing. If you skip the GPU, expect some lag or slowdowns during editing. Here’s a quick rundown:
- Operating System: Windows 10 (64-bit) or macOS 10.14+
- CPU: Intel 6th Gen or newer
- GPU: Dedicated with 4GB VRAM or more (NVIDIA or AMD)
- RAM: At least 8GB, but 16GB is better
- Storage: SSD is best for faster file handling
Meeting these specs keeps things running fast, even when batch editing.
Pricing and Subscription Changes
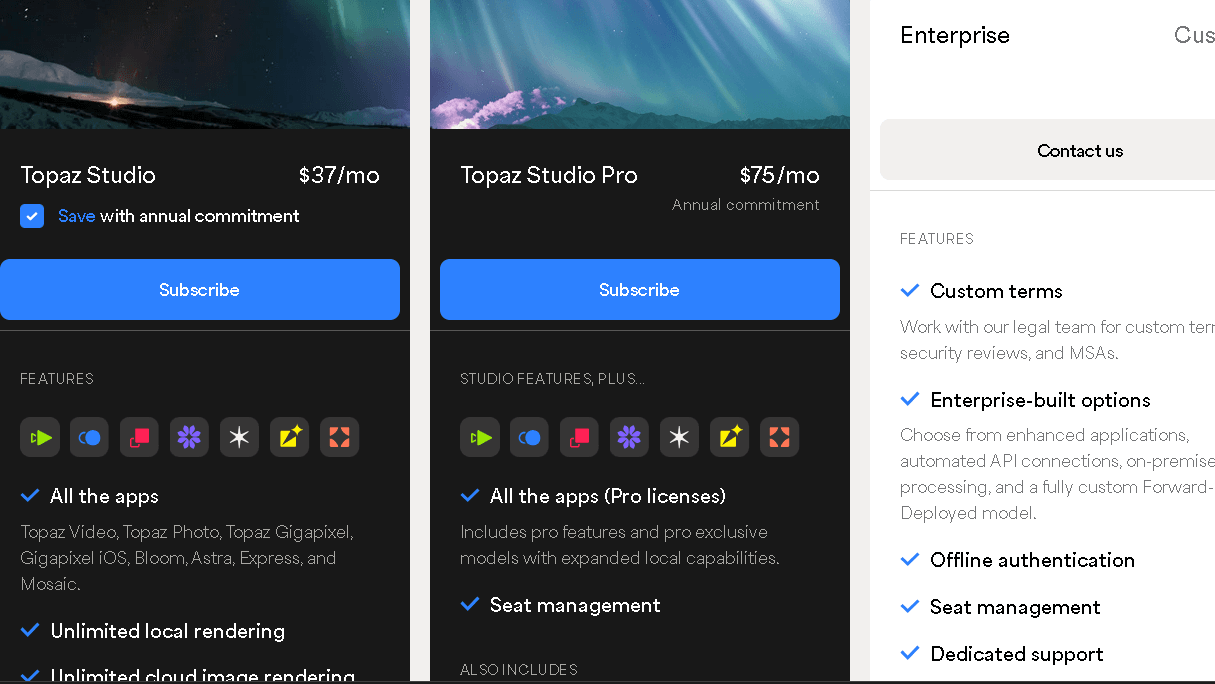
Topaz Sharpen AI costs $79.99. You can also purchase it as part of the Topaz Utility Bundle, which provides you with four editing programs for $249.99 – not bad if you want the other programs as well.
Pricing is straightforward with no obligations. That is wonderful if you despise having to pay monthly fees.
There are sometimes deals, especially on the bundle. You only pay for it once and get to use it forever, with the exception that larger new versions may be subject to an upgrade fee.
Topaz Sharpen AI Free Trial
Topaz Sharpen AI also offers a free one month trial. They offer you a trial cut which gives you the full “product experience” so that you can decide if you really want to buy it.
It’s free to try as its own program or as a plugin for Photoshop and Lightroom. It’s an opportunity for photographers to test whether it’s suitable for their workflow and sharpening requirements, there are no restrictions on image formats or editing modes.
If you are unsure, this is probably the best way to try it out, in order to understand how well it will work on your system and what you can expect as a result of it with zero investment.
User Interface Overview
The interface of Topaz Sharpen AI is “clean” and easy to use. There are two primary types of editing, automatic and manual.
For instant results and if you’re new to this, put it on automatic and let it analyze the image. Manual mode gives you sliders and presets that allow you to fine tune the sharpness, stabilization, and focus correction.
Again, this selectivity, granted by masking tools, allows you to work only on the area you choose rather than the whole image. It can be used by itself or as a plugin within Topaz Photo, Photoshop, or Lightroom.
Topaz Sharpen AI Review and Community Feedback
I have seen lots of people discussing Topaz Sharpen AI. There is a general consensus of those who have used it to like it if needed to save a shot, but some mixed emotions on how it compares to other tools and how it operates in different workflows.
Real-World Results
Based on what I’ve seen, Topaz Sharpen AI is fairly good for soft focus, motion blur, and a little bit of camera shake. It’s more… organic, I suppose, than some of the basic sharpening filters.
AI processes each photo, enhancing edges and textures without adding a ton of noise or weird halos. It also has difficulties – as most people note – in images that they would otherwise have written off, though the blur or noise level just becomes too much.
Thus, it integrates seamlessly if you already use Photoshop and Lightroom, and if not, its operation as a standalone isn’t very difficult.
Pros and Cons
With benefits including:
The results of AI sharpening appear to be natural and in-focus.
Easy for beginners – “set it and forget it”.
Serving as a plugin for Photoshop and Lightroom.
Superior handling of motion blur and focus issues relative to other more common tools.
Cons:
It can feel a bit slow if using on older computers.
Does not always get it with very blurry or noisy images.
This is a little expensive but for the occasional user.
It is not immediately clear to the user for everyone.
Comparison with Other Tools
Topaz Sharpen AI can actually provide better results with less effort than the sharpening filters in Photoshop. Photoshop does give you more control, but you have to be experienced with it to duplicate the clarity.
While free or less complex options are available, Sharpen AI sets itself apart by employing machine learning techniques to systematically process patterns in images. There are other AI sharpeners available, but Topaz seems to be the favorite amongst the pros for its balance of quality and usability.
| Feature | Topaz Sharpen AI | Photoshop Sharpen Filters | Free Sharpening Tools |
|---|---|---|---|
| AI-based | Yes | No | Sometimes |
| Ease of use | High | Medium | Varies |
| Speed | Moderate (GPU help) | Fast | Fast |
| Quality | High | Good | Low to Medium |
| Cost | Paid (one-time) | Subscription (Photoshop) | Free |
HitPaw Review: A Close Look at This Video Converter!
Frequently Asked Questions
Let’s run through some of the basics—how the software works, what you’ll need to use it, and where to find help if you get stuck. I’ll try to keep things practical and to the point.
How does Topaz Sharpen AI enhance image details?
Criterion is with Topaz Sharpen AI which uses artificial intelligence to examine your images and correct motion blur, camera shake, and out of focus images. Rather than simply enhancing contrast at the edge, it increases image detail by effectively sharpening the image.
Can Topaz Sharpen AI be used as a standalone application?
Yep, you can also just run Topaz Sharpen AI on its own. Though it integrates with Adobe Photoshop if you already have a system down, you won’t need any other photo editing software.
How does Topaz Sharpen AI compare to traditional sharpening tools in Photoshop?
This is due to the fact that Topaz’s software has knowledge of the content of your image, and thus Topaz Sharpen AI in general will perform better . Most of the sharpening tools in Photoshop operate by increasing edge contrast and all of them require manual tweaking. It is better at dealing with blur, either from the camera being out of focus or from motion.
What are the system requirements for running Topaz Sharpen AI effectively?
This requires having a relatively up to date 64-bit computer, with either Windows 10 or Mac OS 10.14. A powerful graphics card is a good thing to have as it can do GPU acceleration to speed things up.
What are the pricing options for Topaz Sharpen AI?
Topaz sells it as a one-time purchase, usually with updates included for a while. They occasionally have promos or bundle deals, and you can always try the free trial before buying.
Where can I find tutorials on using Topaz Sharpen AI for optimal results?
Topaz Labs’ site itself will have many guides and videos available. It’s where I go if I want the basics in unwashed language.
If you want some practical tips, many photographers share their own advice and workflow tricks on youtube . There are also a few good nuggets on photography blogs if you search around.
